

1. Install Seam SDK
Seam provides client libraries for many languages, such as JavaScript, Python, Ruby, PHP, and others, as well as a Postman collection and OpenAPI spec.- JavaScript / TypeScript (npm, GitHub)
- Python (pip, GitHub)
- Ruby Gem (rubygem, GitHub)
- PHP (packagist, GitHub)
- C# (nuget, GitHub)
- JavaScript
- Python
- Ruby
- PHP
- C#
This guide uses a Sandbox Workspace. Only virtual sensors can be connected. If
you need to connect a real Minut sensor, use a non-sandbox workspace and API
key.
2. Link Minut Account with Seam
To control your Minut sensor via the Seam API, you must first authorize your Seam workspace against your Minut account. To do so, Seam provides Connect Webviews: pre-built UX flows that walk you through authorizing your application to control your Minut sensor.Create a Connect Webview
Authorize Your Workspace
Navigate to the URL returned by the Webview object. Since you are using a sandbox workspace, complete the login flow by entering the Minut sandbox test accounts credentials below:- email: jane@example.com
- password: 1234
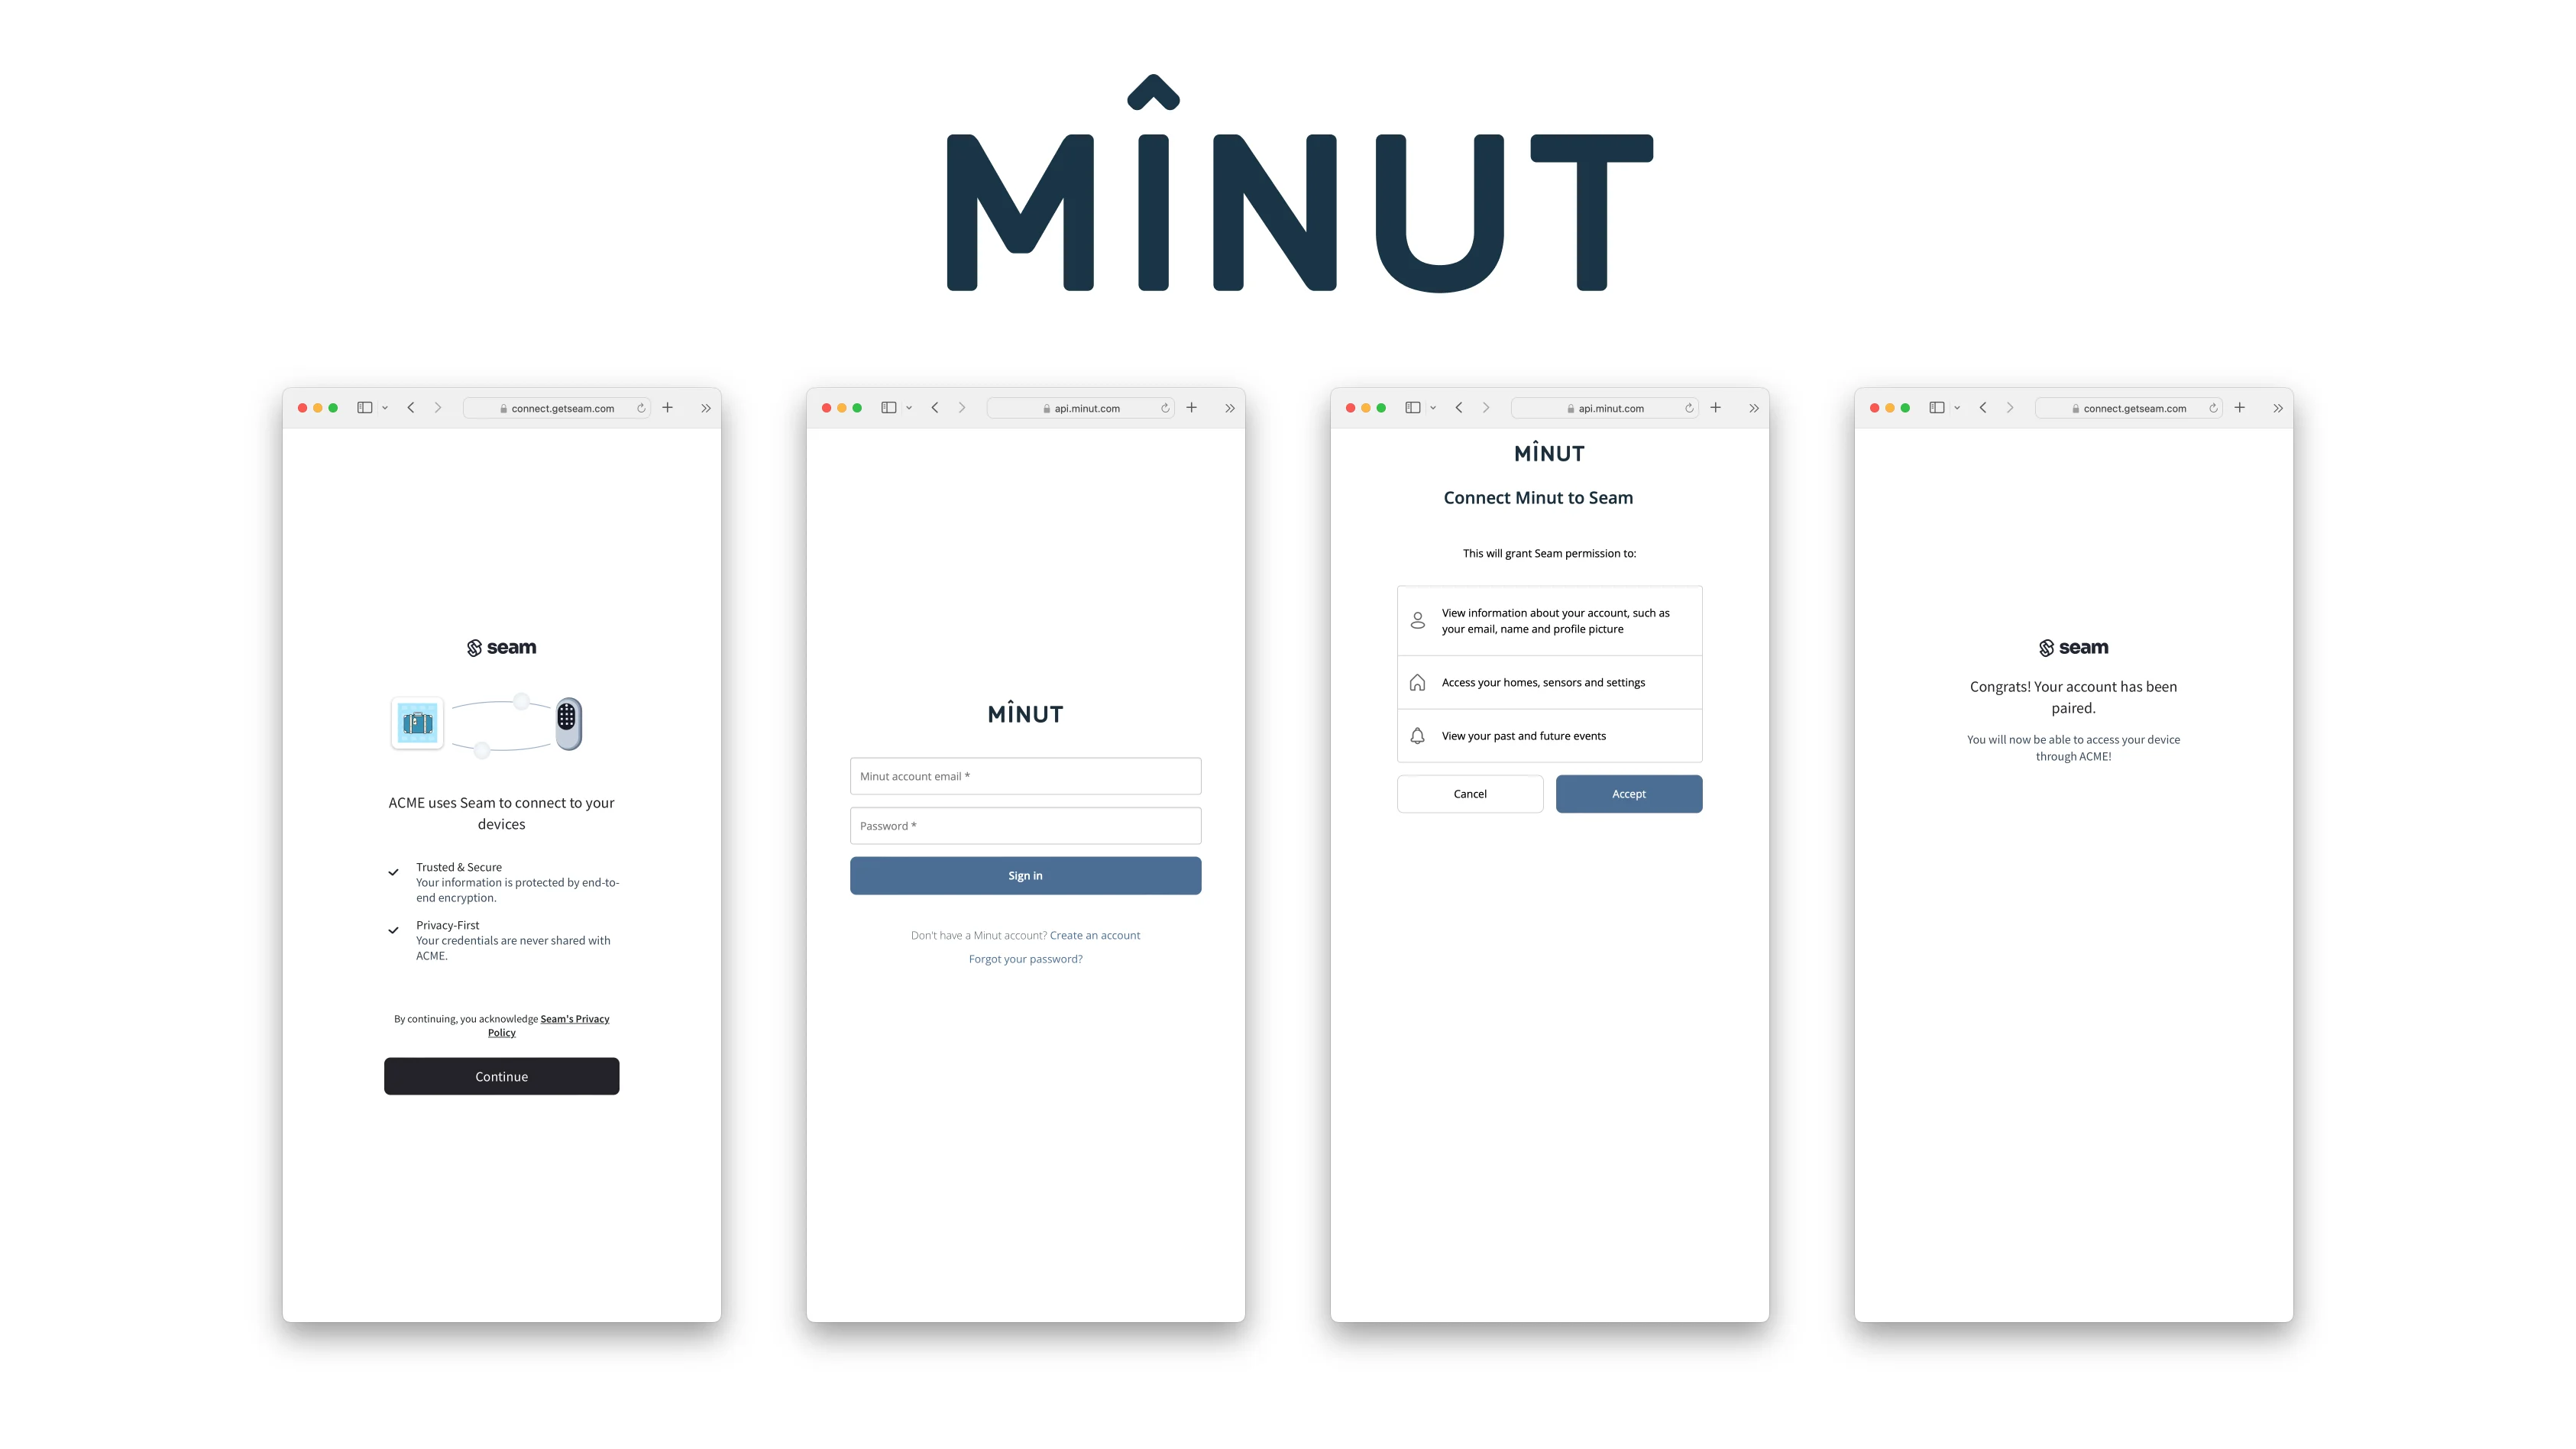
Get the New Webview
After you complete the login above, you’ll get an event forconnected_account.created if you set up a webhook handler. Otherwise you can just poll for the webview until its status changes, as shown below:
3. Retrieve Minut Noise Sensors
Minut noise sensors appear with thedevice_type "minut_sensor". Read the returned properties to inspect the sensor’s current state.
4. Configure thresholds and receive noise events
Minut supports a regular noise threshold and an optional quiet-hours threshold. Configure the thresholds using the property’s time zone, then subscribe tonoise_sensor.noise_threshold_triggered. You can also list events to reconcile what happened.
Use the complete receiving application to verify signatures and store one pending alert per event in a durable database. It acknowledges only after storage and handles repeated deliveries, including after a restart.
The payload includes event_id, workspace_id, device_id, occurred_at and event_type. Threshold details and minut_metadata may provide additional context. Follow the current event contract rather than relying on a sample’s optional provider fields.
JavaScript
Test in a sandbox
SetMINUT_DEVICE_ID to the virtual sensor you connected. Verify the workspace is a sandbox before calling the simulation endpoint.
JavaScript
webhook_id. Keep your production webhook configured for ongoing events.